W E L C O M E


Monday, June 24

Ikea's Adjustable Bench

As I was "dumpster diving" at IKEA's "As is" section, I grabbed this foot for instant gratification. Cut a plywood circle, built a cushion and sewed a gray wool cover with a yellow trim on it.  It rotates and can be adjusted.. how fun :)
Before
After

Monday, December 3

Lonely Nightstand

There is never a pair to be found. Those little mid-century night-stands always come as singles at the Thrift Store.
So I did it a favor and now it lives in my bedroom, quite happy and doesn't even miss a mate.
Before
After

Tuesday, June 19

60's Modern Dresser

This one was pretty beat up and legs needed to be repaired. It got sanded, stained and clear coated. The original hardware was cool. SOLD (Delivered to Brooklyn of course)
"Before"
"After"

Tuesday, May 29

Happy Danish Modern

This 60's Wenger style teak lounge chair was a fun job to do. Wish I kept it..
I used jute webbing to replace the bottom support and made cushions using vintage tapestry.
SOLD
"Before"
"After"

Lesson Learned

It was silly of me to get these chairs from the Thrift Store because I'm having hard time selling them.
Altho stuff with coffee sacks sells pretty well. Got 50 bucks at the Garage sale for all my hard work and a lesson not to buy ugly chairs.
SOLD
"Before"
"After"

Bizarre Table/Lamp

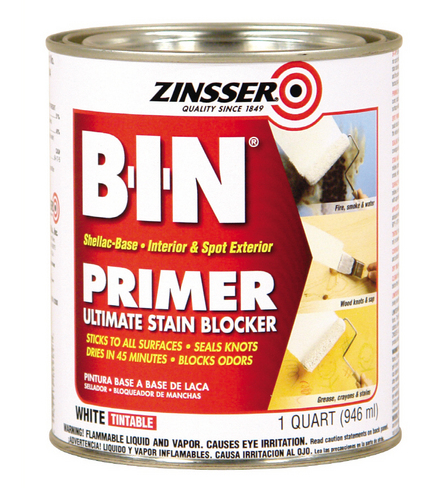
One of my friends smuggled this weirdness into my car after our dinner. "make something out of it" The table was made of kind of plaster covered plywood. So there was really nothing much I could do besides painting it black. I sanded the rough and broken areas, dismantled the lamp, used BIN spray primer and then applied matte black spray paint.
SOLD
"Before" and "During"
"After"

Tuesday, May 15

Industrial Wall


I have loved these walls for over 10 years now, since they started popping up in interior magazines. Better late then never, I thought, and decided to "invent a bicycle" since there is not a single tutorial on the Internet on how to achieve the same results. Unless I order fake paneling from Europe.

We got a sheet of Drywall. Cut it to the blocks according to our design. Then measured the holes and used a circular drill bit to pre-cut the holes. Then we glued and screwed the pieces of drywall on the wall.
I used Gray Concrete Patch (It doesn't shrink!) and spackled the whole wall. The holes needed to be done twice since it cracked overnight. Basically, a good steady hand is needed for applying the top coat. Especially on the corners. For the ridges we used a grooving tool. 
"Before"
"After"
Also this vintage walnut linen cabinet got a new face - this is "Before" I stripped it down and applied Danish Oil

Wednesday, February 29

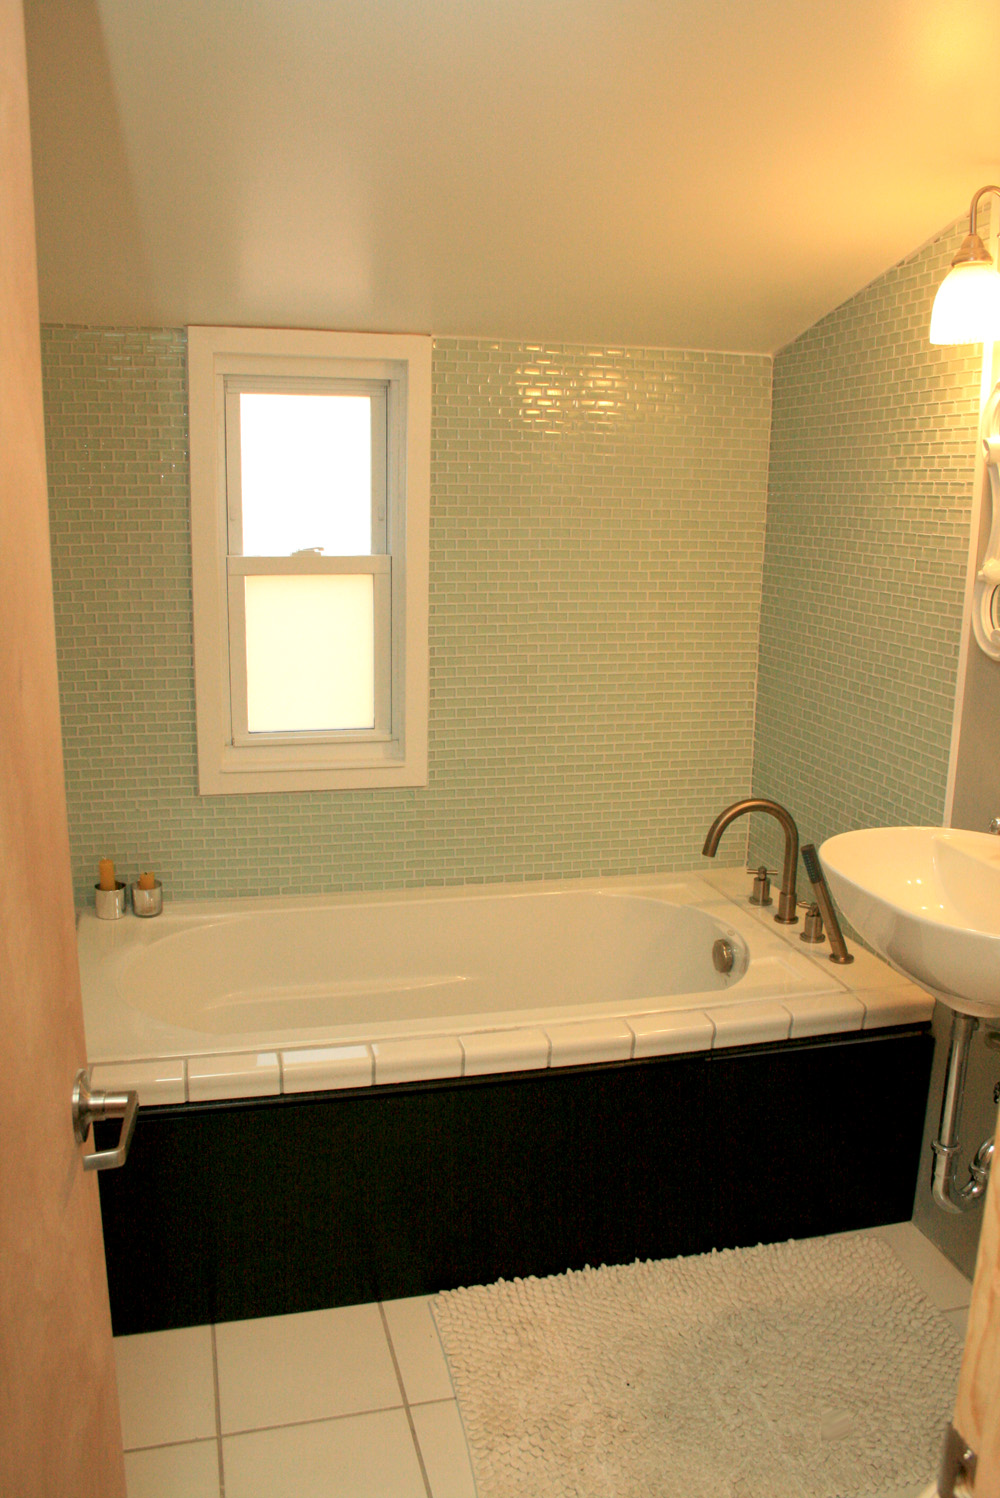
Second Bathroom Makeover

We haven’t completely moved into our newly finished bathroom. But finished it finally is  After 3 years! All the work – Me and Brian (mostly Brian) and my uncle Uno helped with sheetrock and friend Karel helped gutting. We only hired a plumber to do the pipes.
Before & After
 So we totally gutted the place..
We gained extra space by using a built-in cabinet from the room next to the bathroom. We insulated the walls, covered with plastic, sheetrocked, spackled, painted, installed tile on the floor, installed a tub, Brian built a box around the tub, also a drawer on wheels for storage. Brian did all electric wiring and built “floating shelves”. We tiled the box and the walls, new sink from Ikea.
Before
After
 Mirror from the Thrift Store $2.99
 After

Monday, December 5

Bullseye Tables

This weekend I came across two plain round tables for our "man-cave"
Before
After

Monday, October 3

Sikes Chair

On our way back from the rafting trip by Delaware, we stopped by at the antique shop on the way as usual. Saw the chair and bought it for $15 bucks. Later when I decided to work on it, I found a stamp underneath and did some research. Could be over 100 years old.
After applying the stain I was amazed at the contrasty pattern that formed due to a very old dense wood. I used a simple reinforced burlap to cover the new seat veneer.
"Before"
"After"
A photographer friend Katrina Tang used my chair in her photo-shoot. 

Vintage Corner Table

With this one I got off with a rough start. Originally I wanted to glue wooden cookies all along the curved edge, making it look like a welded bolts. But the ones I ordered online (Awesome source by the way http://www.americanwoodcrafterssupply.com), were too big, soo I changed my plan and glued them to the feet. Even better? Then I had trouble get the paint stick to the laminated top. Had to sand everything off again and start over with a right primer! If anyone ever wants to paint laminate, this is your product! make sure to sand it first and clear coat at the end.
"Before"

"After"

Little Rustic Fantastic Ottoman

I wanted to finish off all my coffee sacks and this was the last of them. The look goes awesomely with my rustic glam theme for this show in October

Tuesday, September 6

Hallway Bench

Small benches are fun to re-do, altho it took me forever to sand. I had some burlap coffee sacks left that I used to cover the cushion.
SOLD
Before
After

Monday, August 8

IKEA Bench

I don't remember since when we had this IKEA bench sitting and rotting outside. The top was completely gone and just when I was about to throw it for firewood, we decided to salvage the poor thing. Brian made a box for tile for it and painted the legs black. Now it serves as a flower stand or just an extra table to rest your glass on the porch :)
Before
After

Thursday, June 9

Table to Ottoman Makeover

This was originally a side table with a glass top and quite heavy too. Good base for an ottoman.
SOLD.
Before
After

Monday, March 21

Single Arm Chair

This chair caught my eye at the Thrift Store just by being weird. So naturally I dragged it home, stripped the arm bar, clear-coated it and reupholstered with a fun fabric.
SOLD
Before
After

Friday, November 12

Making Over Ikea Chairs

Those used to be our kitchen chairs when we lived in a tiny Apt in Fort Lee. Ever since we moved to the house, they have been sitting in the basement and after many failed attempts to get rid of them on a garage sale, I decided to make them over.
I covered CD-s with a fabric for the detail on the back. 
SOLD (to a movie set!)
Before
After